Lab-1-2
(8% of the course mark)
Working with HTML, CSS and JavaScript
- This lab is designed to introduce you to the fundamental building blocks of the web: HTML (HyperText Markup Language), CSS (Cascading Style Sheets), and JavaScript.
Lab objectives
-
Gain a solid understanding of HTML elements, tags, and document structure.
-
Learn how to style your web pages using CSS, creating visually appealing layouts.
-
Explore the basics of JavaScript to add interactivity and dynamic functionality to your web projects.
Introduction to HTML
-
Open Visual Studio Code and create a folder named: app.
-
Inside the app folder, create a file named: html.html and copy the code below:
<!--
    Developer Name:
    Purpose:
-->

<!DOCTYPE html>
<html lang="en">
  <head>
    <meta charset="UTF-8" />
    <meta name="viewport" content="width=device-width, initial-scale=1.0" />
    <!-- Enter a description by modifying the content attribute -->
    <meta name="description" content="" />
    <!-- Modify title tag -->
    <title></title>
  </head>

  <body>
    <main>
      <!-- Modify h1 -->
      <!-- Add page heading here -->
      <h1></h1>

      <!-- List one template start -->
      <div>
        <!-- Modify h2 tag -->
        <!-- Add list one heading here -->
        <h2></h2>

        <ol>
          <!-- Modify li tag -->
          <!-- Place the different values for each list item -->
          <li></li>
          <li></li>
          <li></li>
          <li></li>
          <li></li>
        </ol>
      </div>
      <!-- List one template end -->

      <!-- List two template start -->
      <div>
        <!-- Modify h2 tag -->
        <!-- Add list two heading here -->
        <h2></h2>

        <ol>
          <!-- Modify li tag -->
          <!-- Place the different values for each list item -->
          <li></li>
          <li></li>
          <li></li>
          <li></li>
          <li></li>
        </ol>
      </div>
      <!-- List two template end -->

      <!-- List three template start -->
      <div>
        <!-- Modify h2 tag -->
        <!-- Add list three heading here -->
        <h2></h2>

        <ol>
          <!-- Modify li tag -->
          <!-- Place the different values for each list item -->
          <li></li>
          <li></li>
          <li></li>
          <li></li>
          <li></li>
        </ol>
      </div>
      <!-- List three template end -->
    </main>
  </body>
</html>
-
On this HTML page, you will create 3 Top 5 lists on topics of your choice. Read and carefully follow the comments provided and complete the html page by filling in the necessary details.
-
Right click on html.html and click on Open with Live Server. Ensure that you are able to see the lists you created.
Introduction to CSS
-
Open Visual Studio Code and open the app folder.
-
Inside the app folder, create a file named: css.html and copy the code below:
<!--
    Developer Name:
    Purpose:
-->

<!DOCTYPE html>
<html lang="en">
  <head>
    <meta charset="UTF-8" />
    <meta name="viewport" content="width=device-width, initial-scale=1.0" />
    <!-- Copy the description <meta> tag from the previous HTML lab (html.html) -->

    <!-- Copy the title <meta> tag from the previous HTML lab (html.html) -->

    <!-- Modify to the appropriate css file -->
    <link rel="stylesheet" href="./style.css" />
  </head>

  <body>
    <main>
      <!-- Copy the <h1> tag from the previous HTML lab (html.html) and set the class to "headingText" -->

      <!-- Copy the first <div> tag from the previous HTML lab (html.html) and set the class of the div to "divBox customBorderBase customBorder1"-->

      <!-- Copy the second <div> tag from the previous HTML lab (html.html) and set the class of the div to "divBox customBorderBase customBorder2"-->

      <!-- Copy the third <div> tag from the previous HTML lab (html.html) and set the class of the div to "divBox customBorderBase customBorder3"-->
    </main>
  </body>
</html>
-
Read and carefully follow the comments provided and complete the html page by filling in the necessary details.
-
Inside the app folder, create a file named: style.css and copy the code below:
/*
  Developer Name:
  Purpose:
*/

body {
  /* https://developer.mozilla.org/en-US/docs/Web/CSS/font-family */
  font-family:
}

.headingText {
  /* https://developer.mozilla.org/en-US/docs/Web/CSS/text-align */
  text-align:
}

.divBox {
  /* https://developer.mozilla.org/en-US/docs/Web/CSS/width */
  width:
  /* https://developer.mozilla.org/en-US/docs/Web/CSS/margin */
  margin:
  /* https://developer.mozilla.org/en-US/docs/Web/CSS/padding */
  padding:
}

.customBorderBase {
  /* https://developer.mozilla.org/en-US/docs/Web/CSS/border-width */
  border-width:
  /* https://developer.mozilla.org/en-US/docs/Web/CSS/border-radius */
  border-radius:
  /* https://developer.mozilla.org/en-US/docs/Web/CSS/named-color */
  color:
  /* https://developer.mozilla.org/en-US/docs/Web/CSS/box-shadow */
  box-shadow:
}

.customBorder1 {
  /* https://developer.mozilla.org/en-US/docs/Web/CSS/border-style */
  border-style:
  /* https://developer.mozilla.org/en-US/docs/Web/CSS/named-color */
  border-color:
  /* https://developer.mozilla.org/en-US/docs/Web/CSS/named-color */
  background-color:
}

.customBorder2 {
  /* https://developer.mozilla.org/en-US/docs/Web/CSS/border-style */
  border-style:
  /* https://developer.mozilla.org/en-US/docs/Web/CSS/named-color */
  border-color:
  /* https://developer.mozilla.org/en-US/docs/Web/CSS/named-color */
  background-color:
}

.customBorder3 {
  /* https://developer.mozilla.org/en-US/docs/Web/CSS/border-style */
  border-style:
  /* https://developer.mozilla.org/en-US/docs/Web/CSS/named-color */
  border-color:
  /* https://developer.mozilla.org/en-US/docs/Web/CSS/named-color */
  background-color:
}
-
Read and carefully follow the comments and complete the css file by filling in the necessary details.
-
Right click on css.html and click on Open with Live Server. Ensure that your lists are properly displayed and styled with CSS.
Introduction to JavaScript
-
Open Visual Studio Code and open the app folder.
-
Inside the app folder, create a file named: js.html and copy the contents of css.html to js.html.
-
Open js.html and underneath the link stylesheet tag, enter the following:
<script defer src="./script.js"></script>
- Look for the first div tag, add an id attribute and set it to div1.
<div id="div1" class="divBox customBorderBase customBorder1"></div>
- Look for the second div tag, add an id attribute and set it to div2.
<div id="div2" class="divBox customBorderBase customBorder2"></div>
- Look for the third div tag, add an id attribute and set it to div3.
<div id="div3" class="divBox customBorderBase customBorder3"></div>
- On top of the div with id="div1", enter this code:
<div class="divBox">
  <button class="centerElement" id="div1Button">CLOSE</button>
</div>
- On top of the div with id="div2", enter this code:
<div class="divBox">
  <button class="centerElement" id="div2Button">CLOSE</button>
</div>
- On top of the div with id="div3", enter this code:
<div class="divBox">
  <button class="centerElement" id="div3Button">CLOSE</button>
</div>
-
Save the changes.
-
Open the file style.css and add the code below:
.centerElement {
  display: block;
  margin: 0 auto;
}
-
Save the changes.
-
Inside the app folder, create a file named: script.js and add the code below:
// Developer Name:
// Purpose:

// Show / hide divs based on it's id
// Change button text based on it's current value
function toggleDiv(divId, buttonId) {
  const div = document.getElementById(divId);

  if (div.style.display == "none") {
    div.style.display = "block";
  } else {
    div.style.display = "none";
  }

  const button = document.getElementById(buttonId);
  if (button.innerText == "CLOSE") {
    button.innerText = "OPEN";
  } else {
    button.innerText = "CLOSE";
  }
}

// Look for button elements with class = centerElement
const buttons = document.querySelectorAll("button.centerElement");

// Add a click listener to each element
buttons.forEach((button) => {
  button.addEventListener("click", (event) => {
    // Call the toggle function
    toggleDiv(event.target.id.substring(0, 4), event.target.id);
  });
});
-
Save the changes.
-
Right click on js.html and click on Open with Live Server. Ensure that the JavaScript code works by clicking the buttons.
Feel free to explore and adjust the code as you see fit.
Submission
-
Create a folder named submit.
-
Copy the app folder to the submit folder.
-
Create a zip file of the submit folder.
-
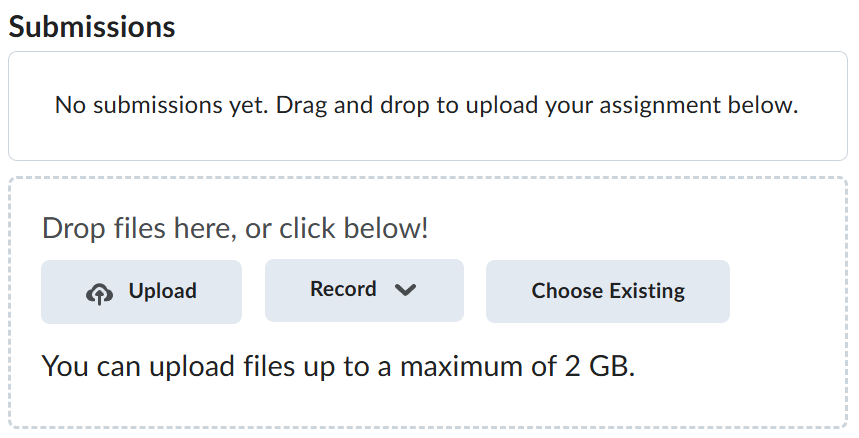
Navigate back to where the lab was originally downloaded, there should be a Submissions section (see below) where the zip file can be uploaded.