Lab-2-1
(8% of the course mark)
HTML fundamental hands-on exercises
- HTML Labs is a hands-on lab designed to teach the fundamentals of HTML (Hypertext Markup Language), the backbone of web development. The series of tasks will allow the students to practice and reinforce the HTML concepts covered in class.
Lab objectives
-
Gain a solid understanding of HTML syntax, elements, and attributes.
-
Learn how to create well-organized and semantically correct web pages.
-
Learn to create forms for user input and data submission.
HTML Resume
- Build an HTML Resume based on the template below:
[Fake Name]
[Fake Address]
[Fake City, Fake State, Fake ZIP Code]
[Fake Email Address]
[Fake Phone Number]

Objective:
[Write a concise statement about your career goals and what you hope to achieve in your next role.]

Education:
[Major Completed]
[Institution Name, Graduation Year]

[Major Completed]
[Institution Name, Graduation Year]

Experience:
[Job Title]
[Company Name, City, State]
[Start Date] - [End Date]

- [Achievement or Responsibility 1]
- [Achievement or Responsibility 2]
- [Achievement or Responsibility 3]

[Job Title]
[Company Name, City, State]
[Start Date] - [End Date]

- [Achievement or Responsibility 1]
- [Achievement or Responsibility 2]
- [Achievement or Responsibility 3]

Skills:
- Programming Languages: [List relevant languages]
- Tools / Frameworks: [List relevant tools and frameworks]
- [Any other relevant skills]

Certifications:
- [Certification Name, Issuing Organization, Year]

Projects:
- [Project Title, Description, and Your Role]

Interests:
- [List any hobbies or interests that are relevant to the position]

References:
Available upon request.
-
Open Visual Studio Code and create folder named: resume.
-
Inside the resume folder, create a file named: resume.html and copy the code below:
<!--
    Developer Name:
    Purpose:
-->

<!DOCTYPE html>
<html lang="en">
  <head>
    <meta charset="UTF-8" />
    <meta name="viewport" content="width=device-width, initial-scale=1.0" />
    <title>Resume</title>
    <link rel="stylesheet" href="./style.css" />
  </head>
  <body>
    <!-- Place your ficticious personal information here -->
    <section></section>

    <!-- Place Objective here -->
    <section></section>

    <!-- Place Education here -->
    <section></section>

    <!-- Place Experience here -->
    <section></section>

    <!-- Place Skills here -->
    <section></section>

    <!-- Place Certifications here -->
    <section></section>

    <!-- Place Projects here -->
    <section></section>

    <!-- Place Interests here -->
    <section></section>

    <!-- Place References here -->
    <section></section>
  </body>
</html>
- Inside the resume folder, create a file named: style.css and copy the code below.
/* Developer:  */
/* Purpose: */

/* Enter the css codes to format the resume, feel free to experiment */
HTML Calendar
- Build an HTML Calendar based on the output below:
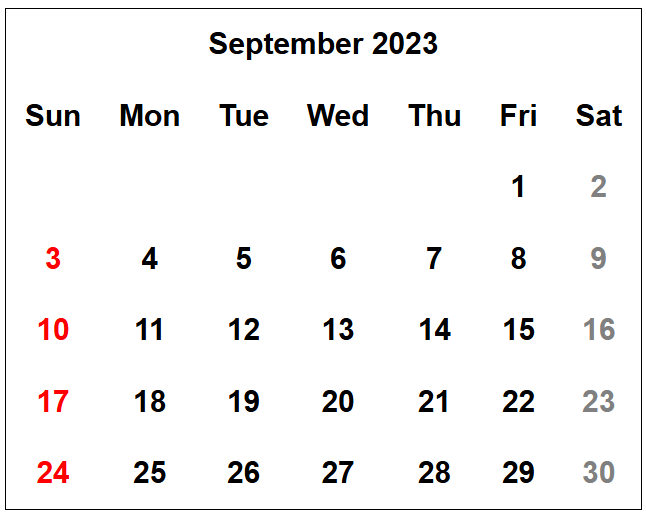
The image above is just a suggestion, feel free to come up with your own calendar design. Below are some helpful hints:
-
The calendar needs at least 6 rows and 7 columns.
-
The calendar title can be implemented with the use of the th element with the colspan attribute or caption element.
-
<th> tag is bolded and centered by default, use this for items that are needed to be bolded and centered.
-
Take note that weekend column text (Saturday) uses red and weekend column text (Sunday) uses gray, either use the supplied stylesheet rule to apply the custom style or create your own.
-
Open Visual Studio Code and create folder named: calendar.
-
Inside the calendar folder, create a file named: calendar.html and copy the code below:
<!--
    Developer Name:
    Purpose:
-->

<!DOCTYPE html>
<html lang="en">
  <head>
    <meta charset="UTF-8" />
    <meta name="viewport" content="width=device-width, initial-scale=1.0" />
    <title>Table Practice Lab</title>
    <link rel="stylesheet" href="./style.css" />
  </head>
  <body>
    <h1>Table Practice Lab</h1>

    <h2>Calendar table</h2>
    <table class="calendarTable">
      <!-- Add the necessary HTML content here -->
    </table>
  </body>
</html>
Feel free to use your HTML code to build the calendar.
- Inside the calendar folder, create a file named: style.css and copy the code below.
/* Developer:  */
/* Purpose: */

body {
  font-family: Arial, Helvetica, sans-serif;
}

.redFont {
  color: red;
}

.grayFont {
  color: gray;
}

.calendarTable {
  border: 1px solid #000;
  border-collapse: collapse;
}

.calendarTable th,
.calendarTable td {
  padding: 10px;
}

.calendarTable caption {
  font-weight: bold;
  margin-bottom: 10px;
}
Feel free to use your CSS code to style the calendar.
Pizza Ordering Form
- Build an Pizza Ordering Form based on the output below:
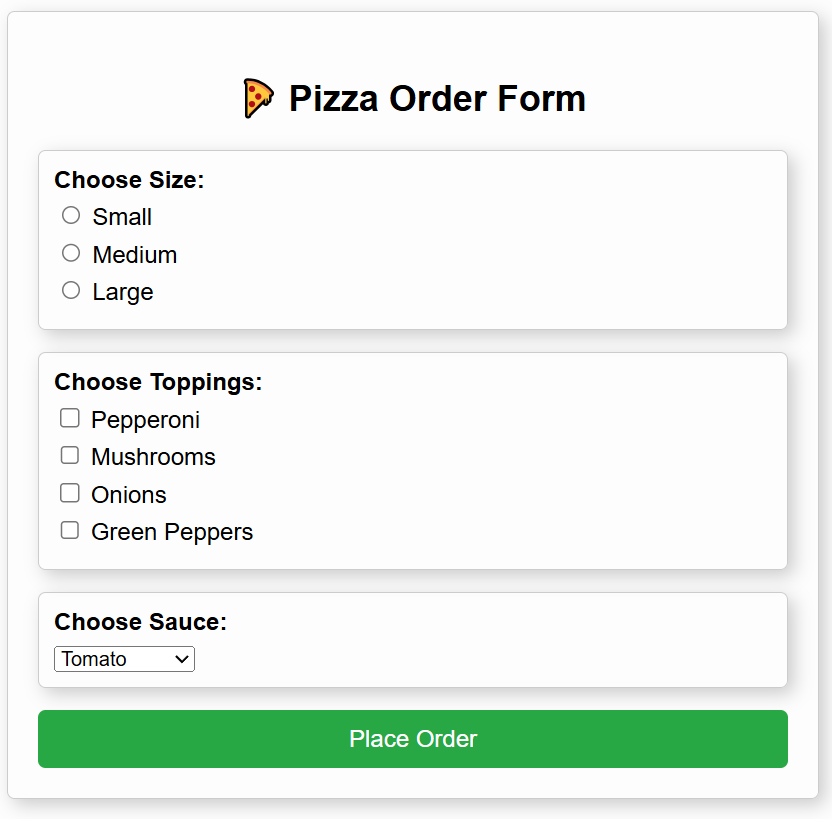
The image above is just a suggestion, feel free to come up with your own pizza ordering form design. Below are some helpful hints:
-
Use the appropriate input types, for instance:
-
Single selection - Use radio or select.
-
Multi selection - Use checkbox and select with the multiple attribute.
-
-
Have some of the options pre-selected; it will save your users unnecessary clicks.
-
Minimum options are size, toppings and sauce, feel free to include additional options and sections.
-
Open Visual Studio Code and create folder named: pizza.
-
Inside the pizza folder, create a file named: pizza.html and copy the code below:
<!--
    Developer Name:
    Purpose:
-->

<!DOCTYPE html>
<html lang="en">
  <head>
    <meta charset="UTF-8" />
    <meta name="viewport" content="width=device-width, initial-scale=1.0" />
    <!-- Set the page title -->
    <title></title>
    <link rel="stylesheet" href="./style.css" />
  </head>
  <body>
    <!-- Set the page heading text -->
    <h2>🍕</h2>

    <!-- Add the form start tag here -->
    <!-- Set action="http://localhost:3000" -->
    <!-- Set method="POST" -->

    <!-- Size -->
    <div class="section">
      <!-- Set size text -->
      <label><strong></strong></label>
      <!-- Set the input here, either use radio or select -->
      <!-- radio example:  -->
      <!-- <label><input type="radio" name="size" value="Small" /> Small</label> -->

      <!-- select example:  -->
      <!-- <select name="size"> -->
      <!-- <option value="Small">Small</option> -->
      <!-- </select> -->
    </div>

    <!-- Toppings -->
    <div class="section">
      <!-- Set toppings text -->
      <label><strong></strong></label>
      <!-- Set the input here, either use checkbox -->
      <!-- checkbox example:  -->
      <!-- <label><input type="checkbox" name="toppings" value="Pepperoni" /> Pepperoni</label> -->
    </div>

    <!-- Sauces -->
    <div class="section">
      <!-- Set sauce text -->
      <label><strong></strong></label>
      <!-- Set the input here, either use radio or select -->
      <!-- radio example:  -->
      <!-- <label><input type="radio" name="sauce" value="Tomato" /> Tomato</label> -->

      <!-- select example:  -->
      <!-- <select name="sauce"> -->
      <!-- <option value="Tomato">Tomato</option> -->
      <!-- </select> -->
    </div>

    <!-- Add submit button here -->
    <!-- Set submit button text to Place Order -->

    <!-- Add the form end here -->
  </body>
</html>
Feel free to use your HTML code to build the pizza ordering form.
- Inside the pizza folder, create a file named: style.css and copy the code below.
/* Developer:  */
/* Purpose: */

body {
  font-family: Arial, sans-serif;
  max-width: 500px;
  margin: 30px auto;
  padding: 20px;
  border: 1px solid #ccc;
  border-radius: 5px;
  background-color: #fdfdfd;
  box-shadow: 4px 4px 12px rgba(0, 0, 0, 0.2);
}

h2 {
  text-align: center;
}

.section {
  padding: 10px;
  border: 1px solid #ccc;
  border-radius: 5px;
  margin-bottom: 15px;
  box-shadow: 4px 4px 12px rgba(0, 0, 0, 0.2);
}

label {
  display: block;
  margin-bottom: 5px;
}

button {
  width: 100%;
  padding: 10px 20px;
  background-color: #28a745;
  border: none;
  color: white;
  font-size: 16px;
  border-radius: 5px;
  cursor: pointer;
}

button:hover {
  background-color: #218838;
}
Feel free to use your CSS code to style the pizza ordering form.
-
Download and extract the file Form-Handler-App.zip.
-
Open Visual Studio Code and open the extracted folder: Form-Handler-App.
-
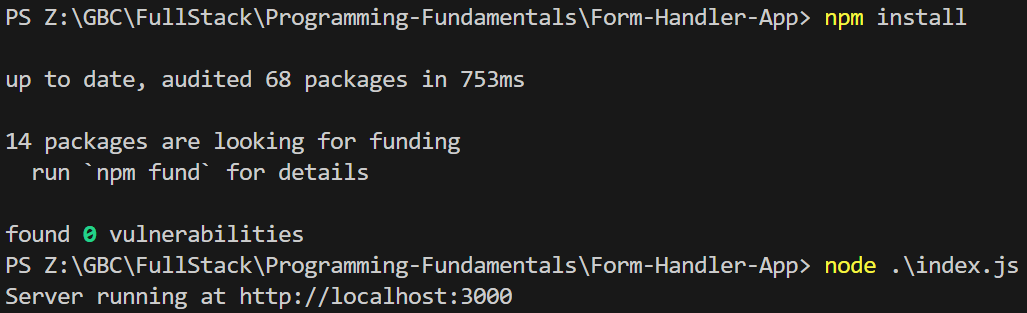
Open the terminal and type the following:
npm install
node index.js
Ensure that the node app is running before you continue.
- Use your preferred browser and open pizza.html and try to place an order. Test your form and ensure that you get a response from the server.
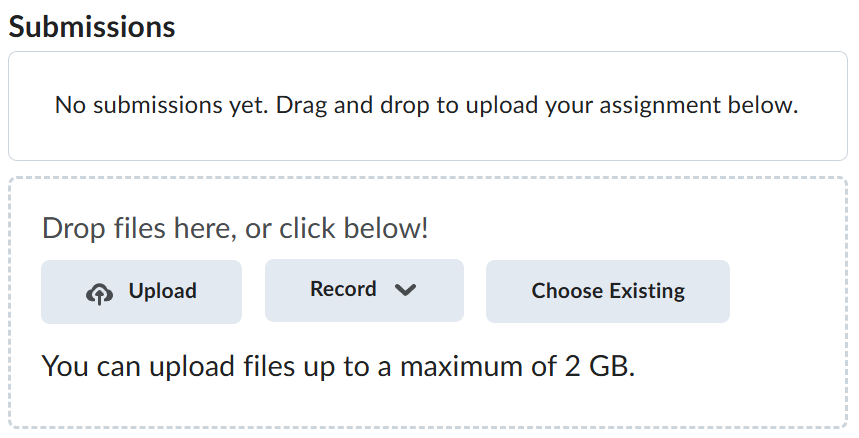
Submission
-
Create a folder named submit.
-
Copy the resume, calendar, and pizza folders to the submit folder.
-
Create a zip file of this folder.
-
Navigate back to where the lab was originally downloaded, there should be a Submissions section (see below) where the zip file can be uploaded.